Information to help you in choosing the right sealer for your project
Why Seal
Let’s start with the basics, why seal? There are many reasons to seal stone and concrete. To begin, not all stone is created equal. Although stone is typically hard, some are soft and subject to decay; over time all stone and concrete is vulnerable to weathering plus wear from foot and vehicle traffic, and if around pools from chlorine and salt erosion. Sealing will
Prevent staining
Prevent deterioration
Enhance colors
Prevent acid erosion
Reduce bacteria growth
Reduce UV ray issues
Prevent salt-water erosion
Strengthen & densify
Reduce weathering & wear
Prevent freeze-thaw effects
Prevent unsightly algae
Types of Sealers
There are two types of sealers– Solvent Based and Water Based. Each has some advantages however both sealer types can do the following:
Prevent staining, prevent salt-water erosion, prevent deterioration, strengthen and densify, enhance colors, reduce weathering and wear, prevent acid erosion, prevent freeze-thaw issues, reduce bacteria growth, prevent ugly algae and reduce UV fading and deterioration issues.
OK, They seem to do the same things, so, What are the differences you should know about?
Solvent-based sealers:
Are high in VOCs (volatile organic compounds) – many states have laws preventing the use of high VOC sealers – click here to see if your state is a VOC regulated state or county. Their highlights are:
Can be applied over themselves or water-based sealers
Are the carrier typically used in Wet Look (gloss) acrylic sealers
Are more difficult to clean up
Solvent – Base
High
VOC
Low
VOC
Water- Base
Water – based sealers:
Are low in VOCs – water-based sealers are the result of VOC regulations
Cannot be applied over themselves or solvent based sealers while active
Are relatively easy to clean up
There is one more aspect of sealers that is helpful to know and it applies to both water and solvent based sealers.
There are two “Classifications” of sealers: Penetrating Sealers and Film Forming Sealers.
Let’s do Film Forming Sealers first.
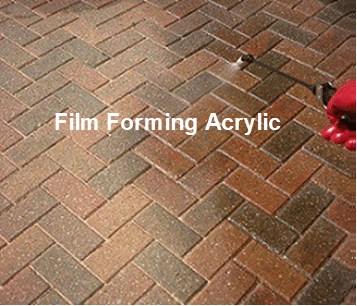
Film-Forming or Topical sealers do just what the name says, they form a protective film, typically a “Wet Look” on the surface of the substrate, natural stone, pavers or concrete, enhancing the colors.
Acrylic sealers are the typical example of a Film Former. They work by bonding to the substrate surface they are applied on. The film protects the substrate in much the same way that a raincoat protects its wearer. The sealer simply covers the substrate surface with a water and usually oil resistant barrier.
They are most often used on paver driveways, decorative concrete work and interior concrete floors.
There are two “Classifications” of sealers: Penetrating Sealers and Film Forming Sealers.
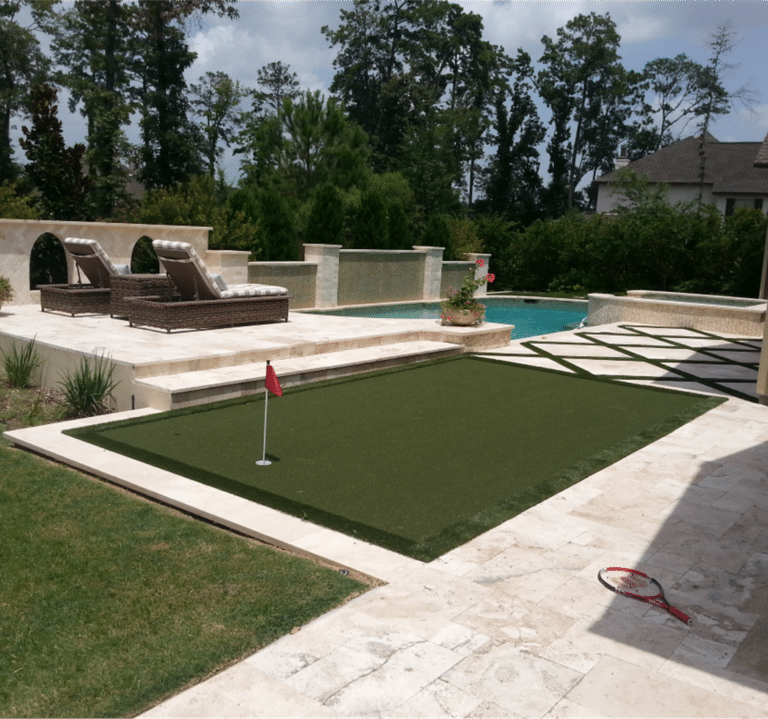
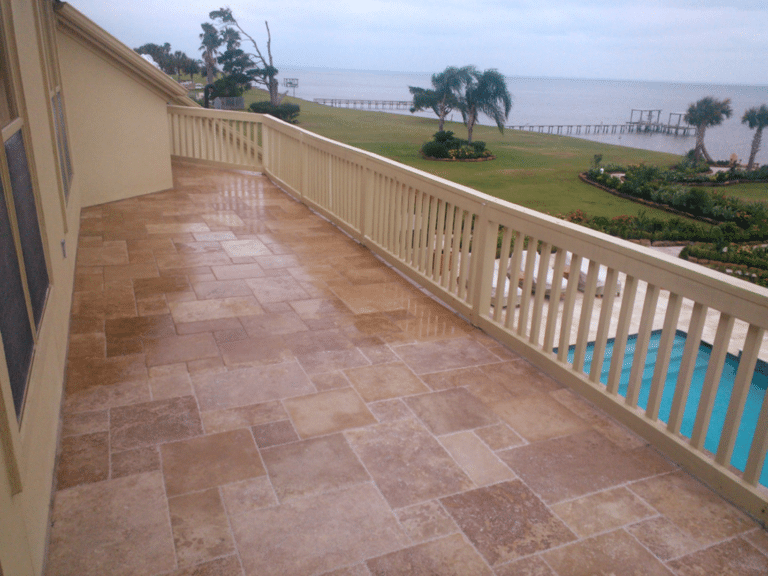
Before and After WL350 Wet Look Sealer on Travertine
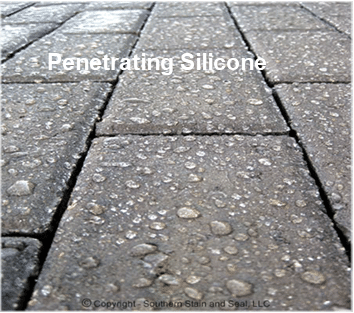
Penetrating Sealers:
Unlike film forming sealers, penetrating sealers are not coatings, they penetrate into the surface of the substrate where they chemically react with the substrate and themselves both on the surface and below the surface forming a powerful integrated bond with the substrate.
These sealers provide invisible protection by creating a barrier on and below the surface composed of the silicon’s in the sealer and the substrate molecules that won’t allow water molecules to enter.
Penetrating sealers can also enhance or darken the surface.
Penetrating sealers generally last longer than film forming sealers and have more functionality.
The unique bonding mechanism is called cross-linking – we will expand a bit more on this.
A little more on crosslinking.
Put simply, crosslinking involves a chemical reaction between polymer chains to link them together. Picture a bowl of spaghetti. Each strand is separate and can be pulled out of the bowl (if it doesn’t slip out of your fingers). With crosslinking, there are chemical reactions that take place among the pieces of “spaghetti” to bond them, so you can no longer pull out an individual strand.
Think of the meat sauce put on your spaghetti as the substrate (stone, concrete, etc.). In our analogy, many silicones will not only bond the spaghetti strands to each other but also to the meat sauce.
That is pretty much the basics but if you would like to know a little bit more about sealers, please visit our Solutions Page.
We want to make sure your sealing project goes perfectly. No mess ups.
We have put together a short list of do’s and don’ts to assist you in applying our sealant products.
Over the years, we have learned there are four factors that make a great installation.
Clean Surface
Test an Area
Surface Temperature
Moisture Content of the substrate
Excess Product
Previously Sealed
APPLICATION Do’s and Don’t’s
Number 2, Surface Moisture Content
For most products, be sure no water is applied, or heavy rain occurs for a minimum 24 – 48 hours prior to application depending on amount of rainfall. If area to be treated has been underwater for long periods such as a waterfall or the backside of the substrate is adjacent to water, additional drying time will be necessary. If unsure of substrate moisture content, test with a moisture meter. The test area and application area must be THOROUGHLY DRY before application. Applying the product over an area that is not dry will result in a white haze forming on the surface that is difficult to remove.
Number 1, Surface Temperature.
Do not apply if the surface temperature exceeds 95o F (or) falls below 50o F. For most products, the ideal application temperature is a surface temperature of 55 to 90oF. In summer months, stone exposed to direct sunlight can be substantially hotter than the ambient temperature. Sealants need time to penetrate and be absorbed. High heat can evaporate the liquid carrier too quickly leaving unabsorbed chemical on the surface, that if allowed to dry can be difficult to remove. If unsure of surface temperature, test with a Thermo Laser Meter – they are not expensive.
Actually, there is a number 5. We should have made it number one.
Always “Test “ on a small area first. Does the sealer absorb? Did it change the color or not change the color? Did it turn white?
Clean the Surface
Remove dirt, leaves, loose particles, loose stone, grease and stains before application. How it looks when you are through cleaning will be made permanent by the sealer.
Number 3, Remove Excess Product:
After product has been applied and absorbed, wipe or blow off any excess product remaining on the surface that was not absorbed, never let product “puddle” or pool in low areas and dry.
Number 4, Do Not Apply Over Previously Sealed Areas
If unsure if application area has been sealed before, test a small area. If product does not absorb, this indicates prior sealing or too dense a substrate; applying the product over a previously sealed area can result in a white haze or oily film forming on the surface that is difficult to remove.
10825 Barely Lane, Suite J
Houston, TX 77070
877-333-8188